Ask The Moldflow Experts
Windage Analysis for Tight Tolerances... Less Time Than You Think
Ask The Moldflow Experts Webinar Topic:
Windage Analysis for Tight Tolerances... Less Time Than You Think
March 23rd, 2021 | 12:30 PM CDT
Learn how Moldflow identified & solved a tight tolerance application in days, not weeks.
During the health care challenges of the past year, CAE Services Corporation was called upon to work on several parts for the Ventec Life Systems ventilator. With 700 parts required to make one ventilator, many of which are injection molded, the task to ramp up tooling and production was monumental. The part we analyzed was a critical component for the oxygen-metering valve assembly.
This webinar discussed
- How Moldflow is used in solving tight warpage tolerances using Windage & CAD Morphing
- Factors used in determining when to use Windage
- Determining Shrinkage number for best results
- Correlation of final molded samples with Windage analysis

ATME - Take Away

Step 1 - Correlation Existing Warpage
- Old material deck predicted right trend, wrong magnitude
- New material deck predicted trend and magnitude correctly
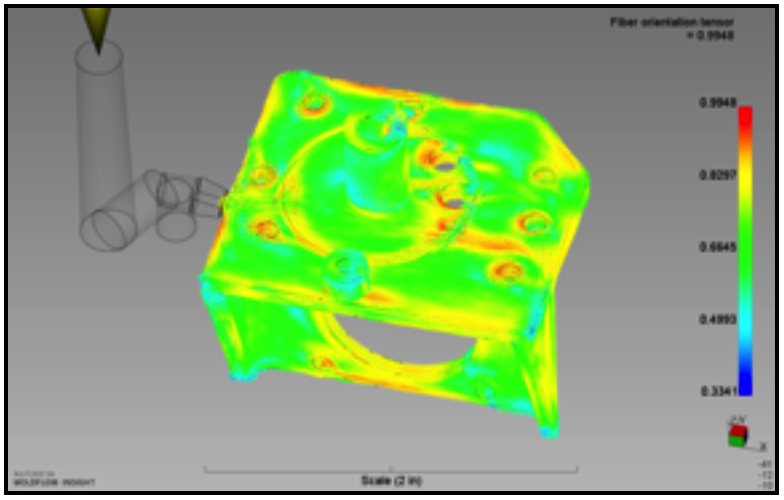
- Determined cause of warpage to be fiber orientation
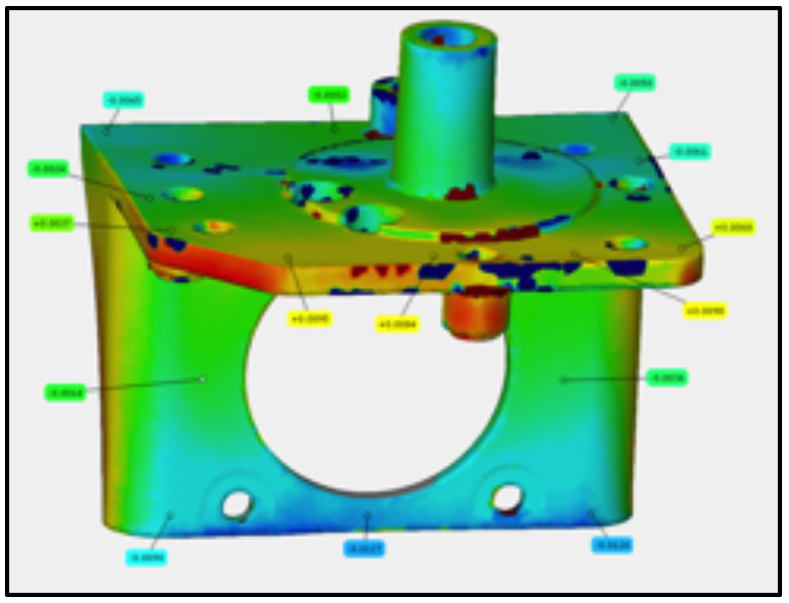
Old Material Deck
Max deviation = 0.014”
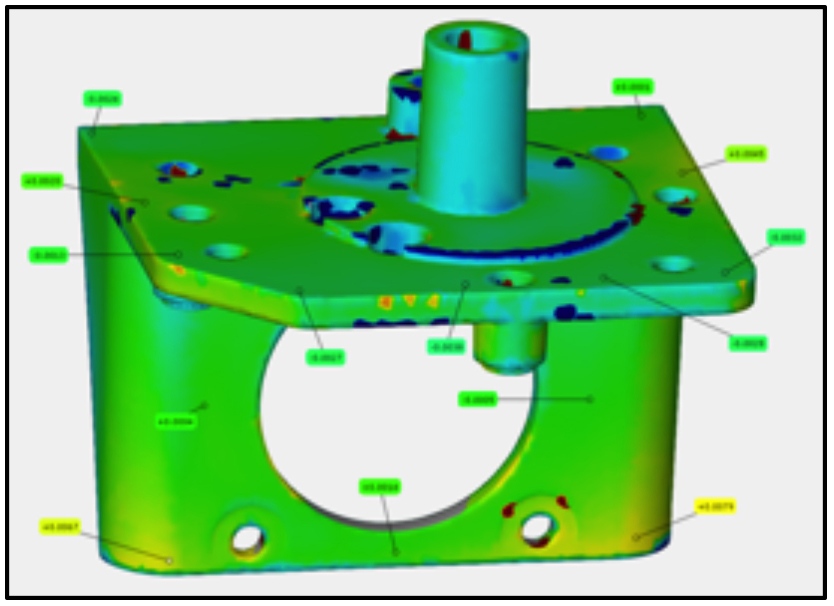
New Material Deck
Max deviation = 0.008”
Step 2 – Minimize Warpage
- Change Gate Location for more favorable fiber alignment
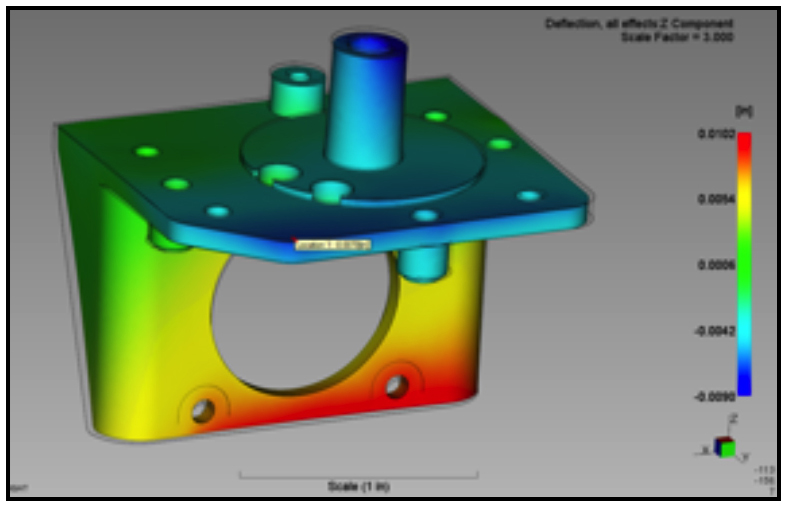
- Warpage reduced slightly, but not within tolerance
- Sink marks eliminated
Max. Deflections
Downward - 0.0070”
Inward – 0.0099”
Fiber Orientation More Uniform Across Part
Step 3 – Use Windage to Fix Warpage
- Determine Windage Factor
- Decide on Shrinkage Number
- Morph the Part (avoid die lock)
- Confirm in Moldflow
- One week to complete analysis, material testing, and delivery of morphed windage file.
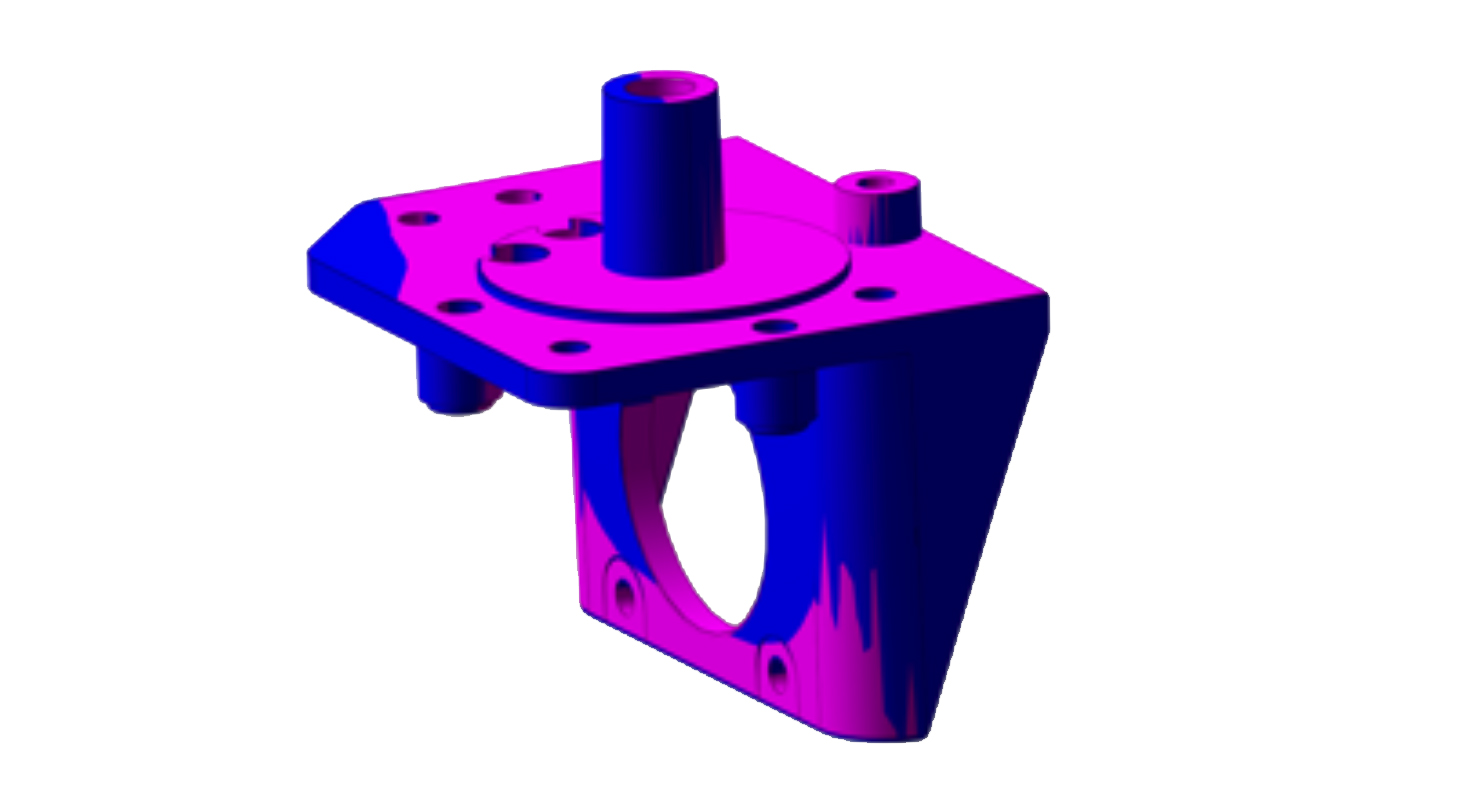
Purple = Nominal
Blue = Windage
Step 4 - Final Molded Samples - Dimensions
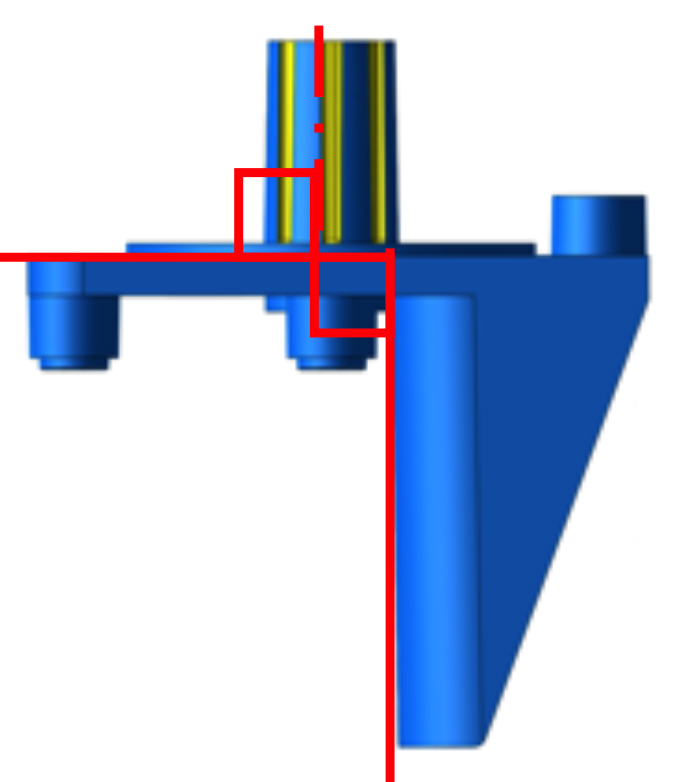
- Perpendicularity of L-shape
- Actual = (0.005, 0.004, 0.005)
- Well within 0.010” tolerance
- Perpendicularity of boss (0.0025”)
- Actual = (0.0011, 0.0013, 0.0012)
- Well within 0.0025” tolerance

Windage Analysis for Tight Tolerances… Less Time Than You Think
Windage Analysis for Tight Tolerances… Less Time Than You Think
March 23rd, 2021 | 12:30 PM CDT
ATME – Take Away
Step 1 – Correlation Existing Warpage


