Ask The Moldflow Experts
Utilizing Windage in Moldflow
Ask The Moldflow Experts Webinar Topic:
Utilizing Windage in Moldflow
September 14th, 2021 | 12:30 PM CDT
For decades, Moldmakers have been using Kentucky Windage as a last-ditch approach to correcting warpage problems in their injection molds. This can be a time-consuming and expensive operation when Moldflow analysis is not included. We are able to take the guesswork out of that process by determining and delivering the proper windage shape ready to cut into your mold block. But understanding the potential tooling pitfalls is one of the keys to a successful windage project.
• How windage is the last piece of the puzzle for correcting warpage problems
• How it is applied from a Moldflow perspective
• What are the most common tooling considerations?

ATME - Take Away

Steps to Windage Success
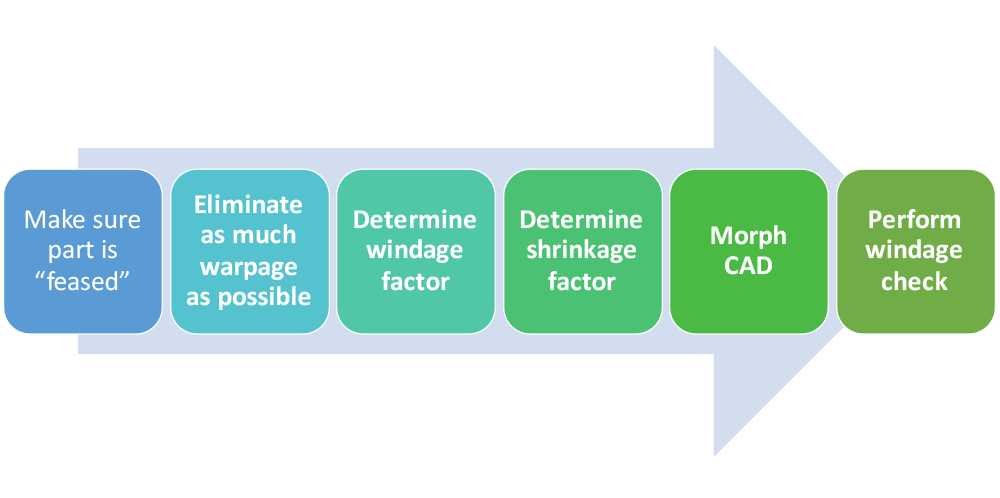
Step 1: Make Sure Part is "Feased"
Preliminary Feasibility Study Assures:
- Part is good for tooling
- Sufficient side wall draft
- Rib-to-wall ratio
- Proper fit/function
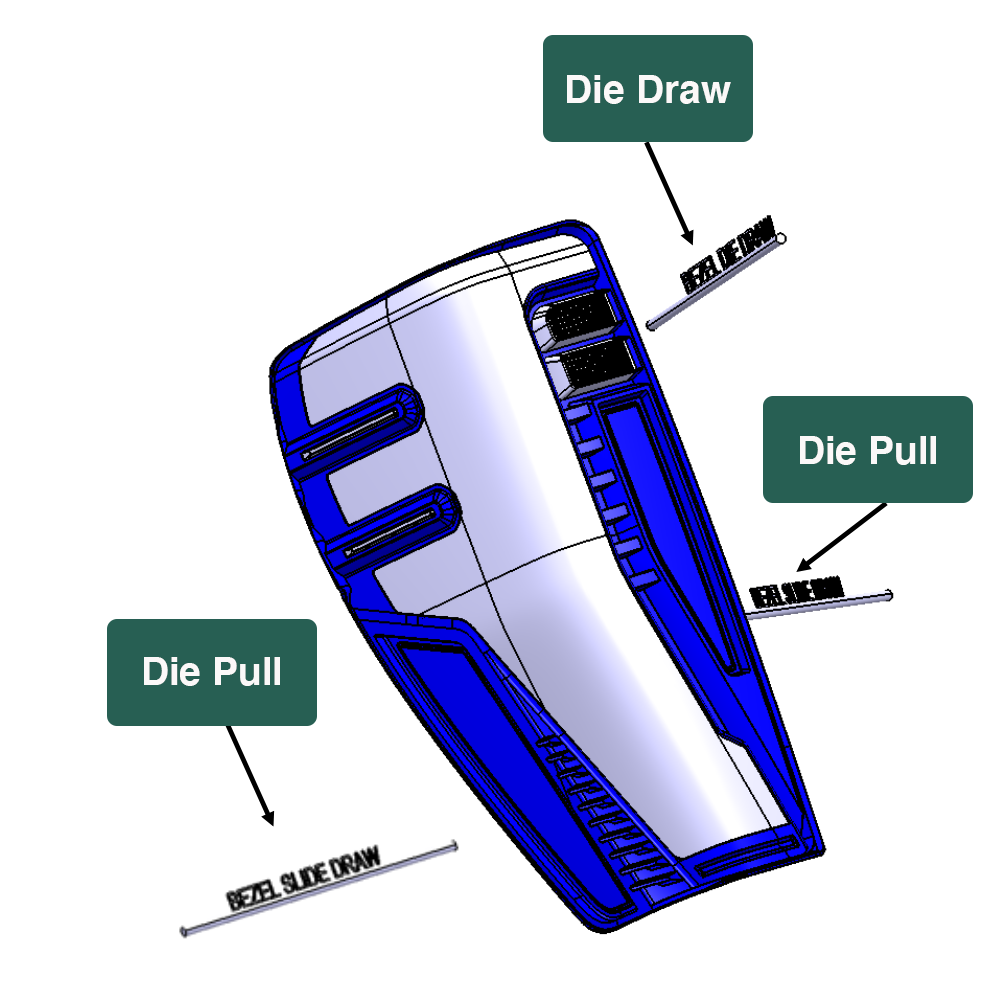
- Basic die draw, die pull directions identified
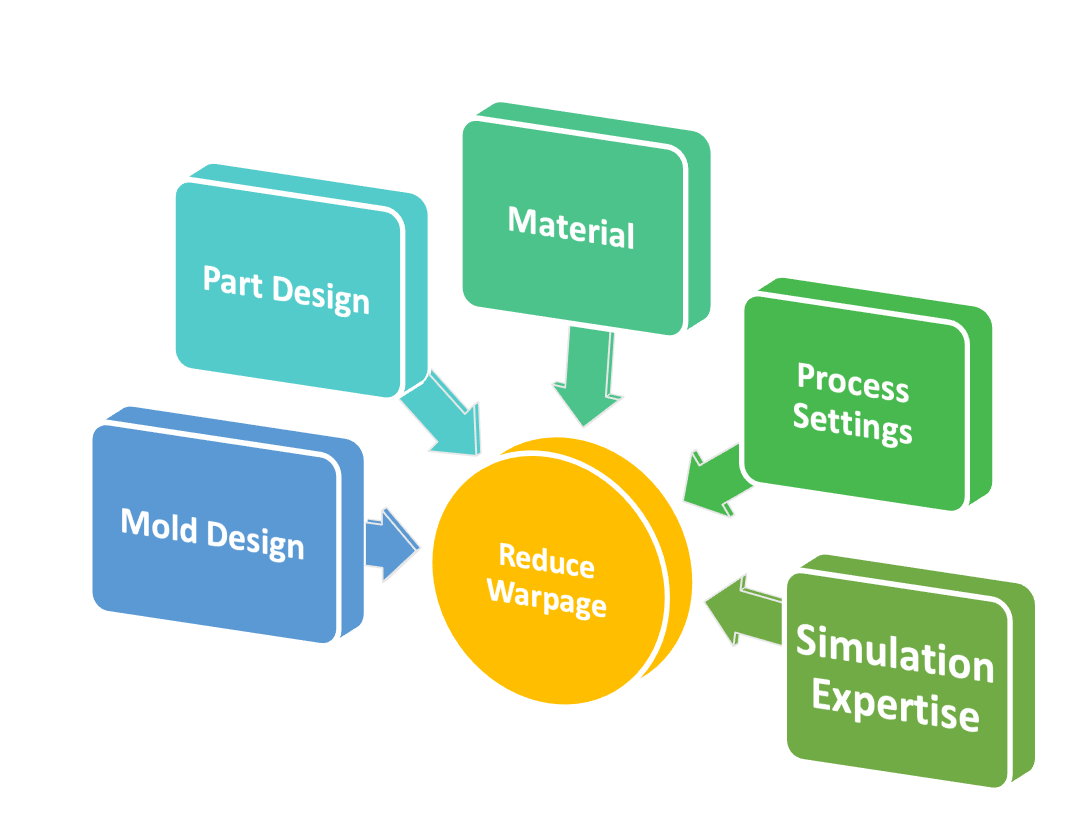
Step 2: Eliminate as Much Warpage as Possible
- Gating
- Cooling
- Part Modification
- Material
- Process Settings
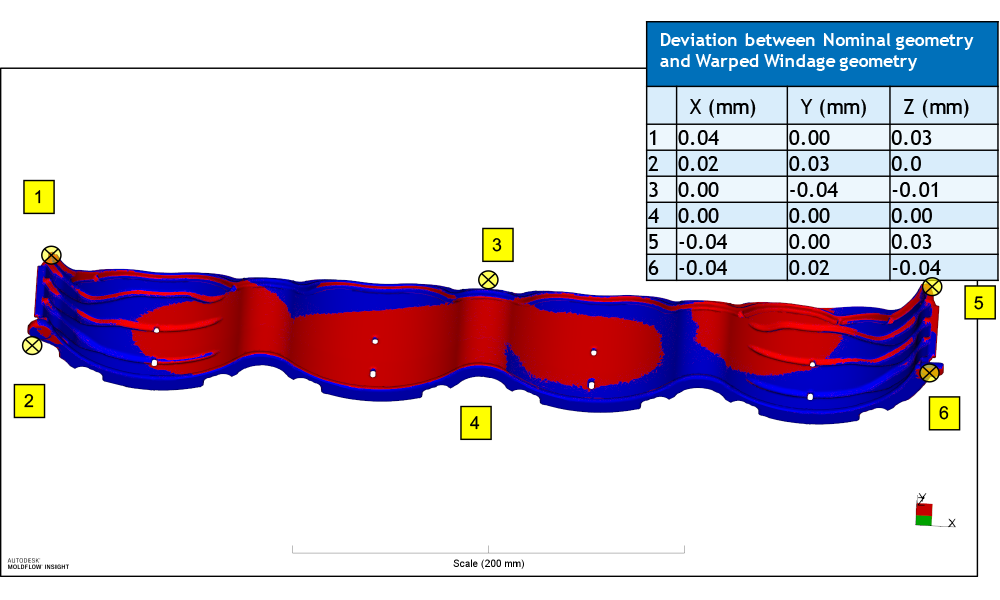
Step 3: Determine Windage Factor
Step 4: Determine Shrinkage Factor
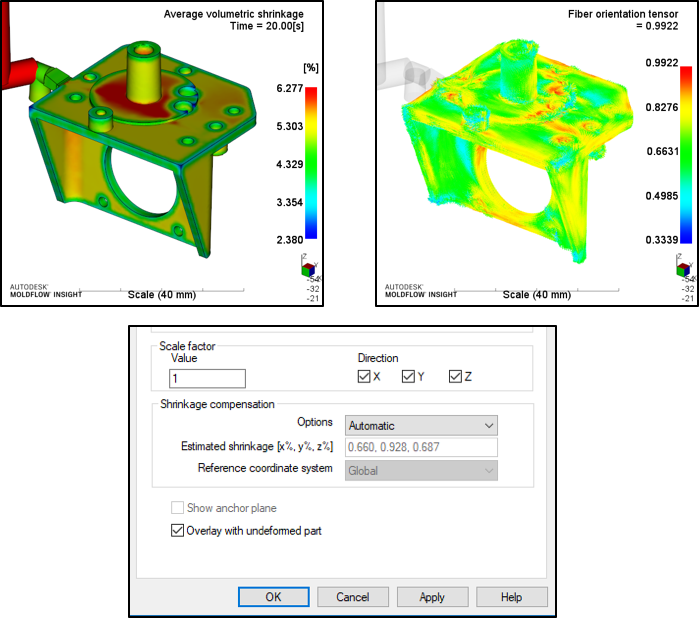
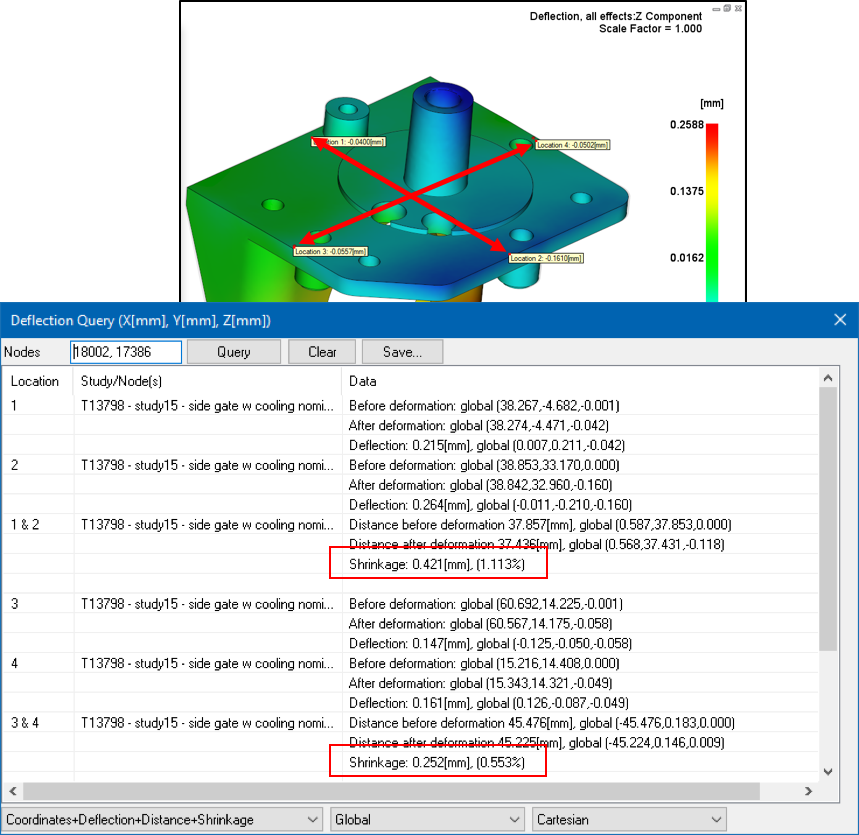
Use many sources:
- Moldflow results (3 directions)
- Moldflow material deck
- Published shrinkage (material supplier)
- Past experiences - similar molded samples
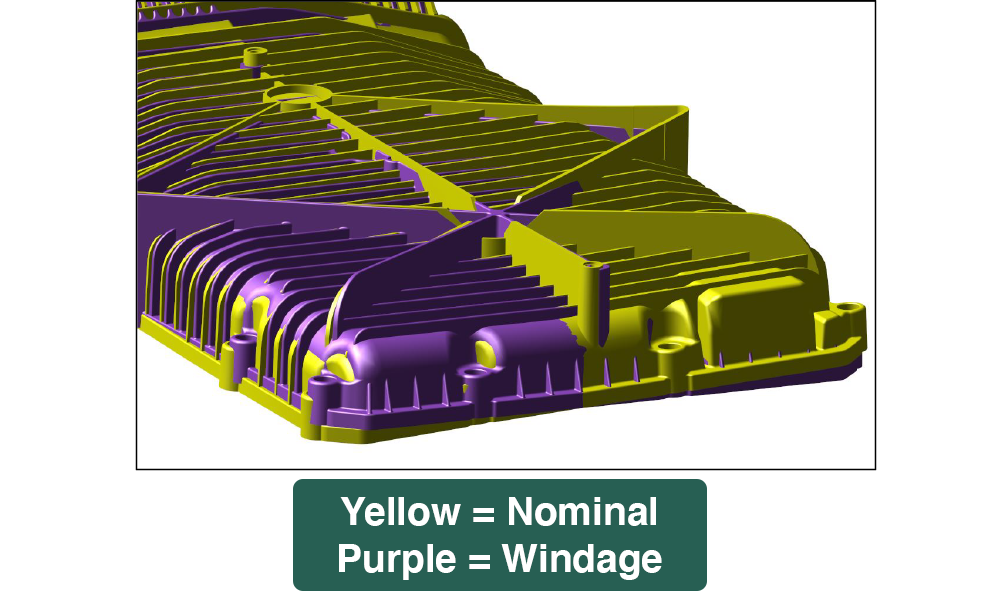
Step 5: Morph CAD
- Use STL or STEP from Moldflow with proper Windage Factor
- Expand nominal CAD with proper shrinkage factor(s)
- Protect features for die draw
- Morph to match windage shape
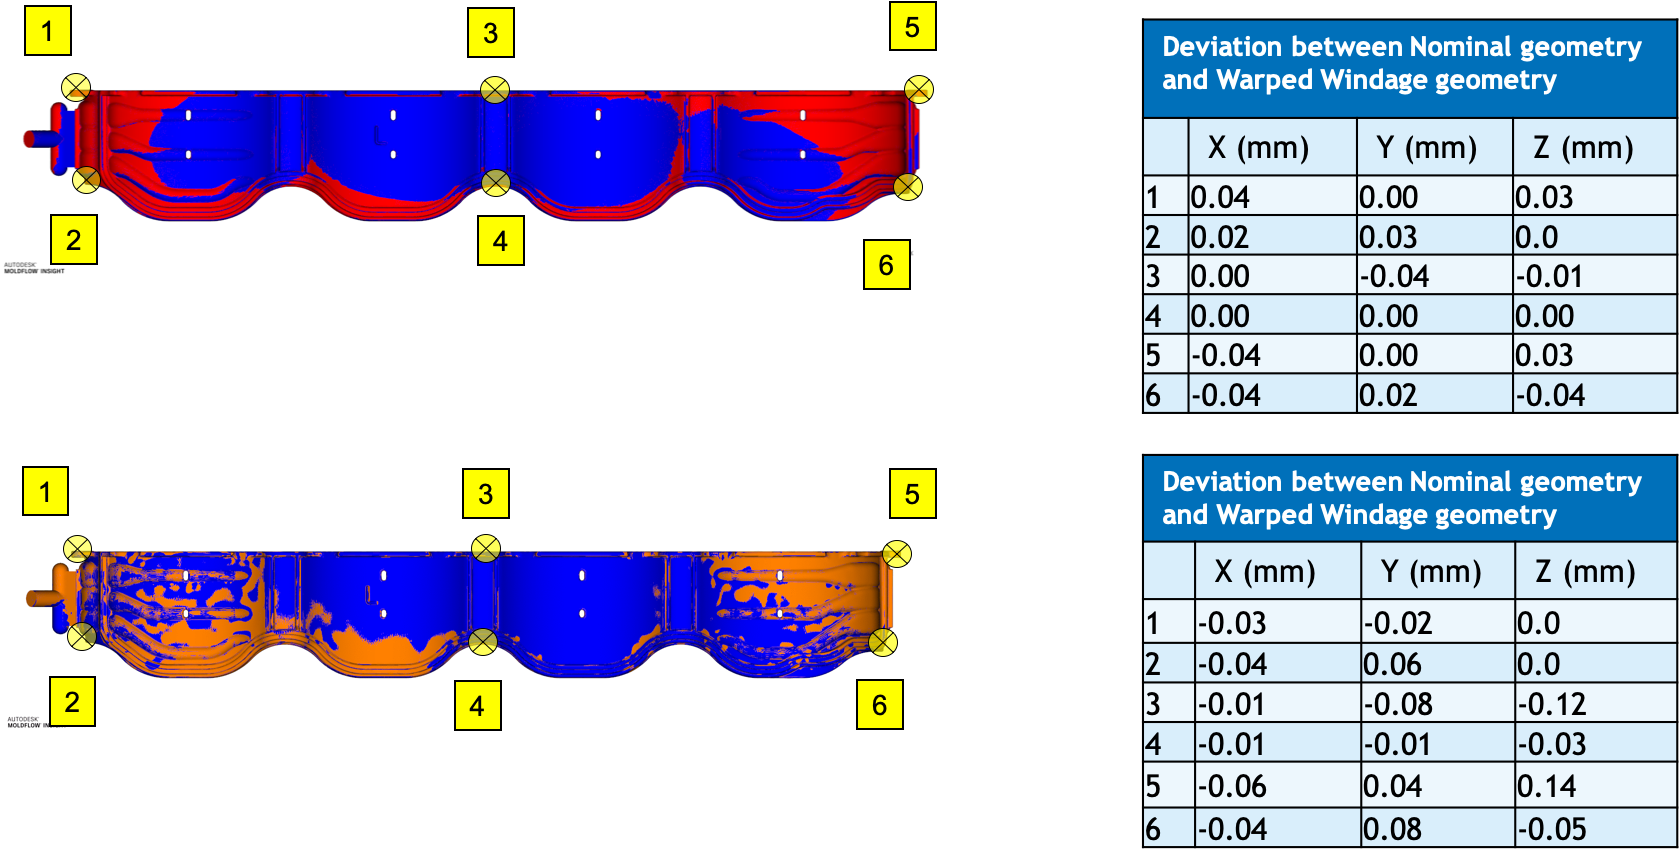
Step 6: Perform Windage Checks

Utilizing Windage in Moldflow
Ask The Moldflow Experts Webinar Topic:
Utilizing Windage in Moldflow
September 14th, 2021 | 12:30 PM CDT
ATME – Take Away
Steps to Windage Success


